Have you ever craved a dessert that’s both delightfully moist and refreshingly tangy? Enter the Kefir Sheet Cake, a treat that’s as unique as it is irresistible. Whether you’re a fan of fluffy textures or love experimenting with fermented ingredients like kefir, this recipe will quickly become your go-to for family gatherings or weeknight indulgences.
What makes this cake so special? It’s the perfect balance of simplicity and sophistication—easy enough for beginners yet impressive enough to wow a crowd. Plus, the tangy kick from kefir adds a flavor twist that’s sure to leave everyone asking for seconds. Ready to bake your way to dessert perfection? Let’s dive in!
Why You’ll Love This kefir sheet cake
This Kefir Sheet Cake is the ultimate combination of ease, flavor, and versatility—perfect for both seasoned bakers and kitchen newbies. Here’s why it deserves a spot in your recipe collection:
- Moist and Tangy Flavor: The kefir brings a delightful tang and keeps the cake irresistibly moist, setting it apart from traditional sheet cakes.
- Quick and Fuss-Free: Made with simple pantry staples and just a few steps, this recipe is a lifesaver when you need a dessert that impresses without the stress.
- Crowd-Pleaser: Whether it’s a casual family dinner or a festive gathering, this cake shines on any occasion. Its light, fluffy texture and subtle tang leave everyone coming back for seconds.
- Endlessly Customizable: Pair it with a creamy vanilla frosting, a dusting of powdered sugar, or even fresh fruit for a personalized touch.
This recipe isn’t just about baking a cake—it’s about creating moments to savor. With a few basic ingredients and your favorite baking pan, you’ll whip up a dessert that’s as rewarding to make as it is to eat. Let’s get started!
Ingredients
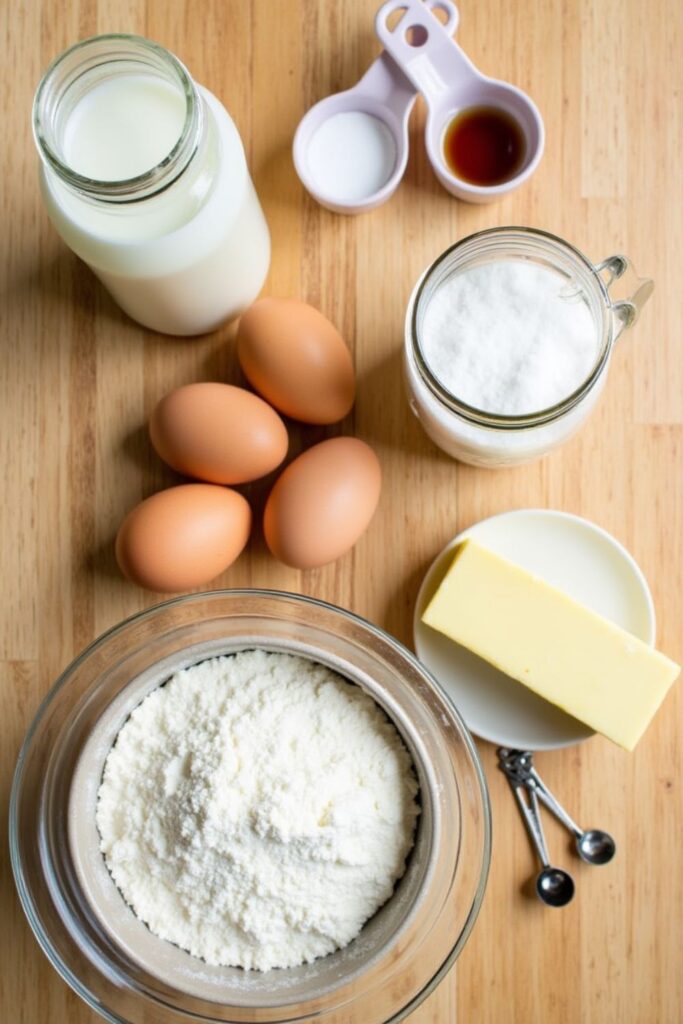
Here’s everything you’ll need to create this moist and flavorful Kefir Sheet Cake. Most of these ingredients are pantry staples, making it an easy recipe to whip up anytime you’re craving something special!
For the Cake:
- 1 cup of kefir (adds tangy flavor and keeps the cake moist)
- 2 large eggs (room temperature for better mixing)
- ½ cup of unsalted butter, melted (adds richness to the cake)
- 1 cup of granulated sugar (for just the right amount of sweetness)
- 2 cups of all-purpose flour (sifted for a light, fluffy texture)
- 1 teaspoon of vanilla extract (enhances flavor)
- 1 teaspoon of baking soda (ensures a perfect rise)
- ½ teaspoon of salt (balances the sweetness)
Optional Toppings:
- Cream cheese or vanilla frosting (for added sweetness)
- Fresh berries (a fruity twist)
- Chocolate shavings or drizzle (for the chocolate lovers)
Ingredient Tips:
- Kefir Substitute: No kefir on hand? You can use buttermilk or plain yogurt instead, though kefir’s unique tang is worth the effort!
- Gluten-Free Option: Swap all-purpose flour with a 1:1 gluten-free baking flour for a celiac-friendly version.
- Sugar Alternatives: Want a lower-sugar option? Try coconut sugar or a stevia blend for a healthier twist.
Having these ingredients ready will make your baking smooth and stress-free. Now that you’ve got your supplies, let’s turn these simple ingredients into something extraordinary!
Directions
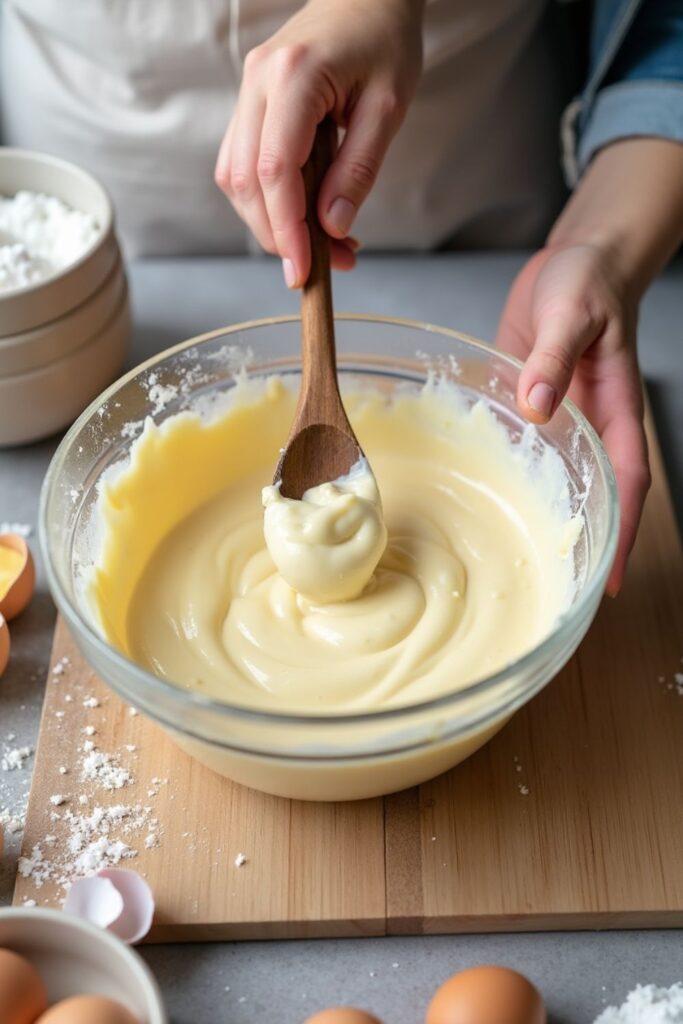
Ready to bake the perfect Kefir Sheet Cake? Follow these simple, step-by-step instructions for a stress-free baking experience:
1. Prep Your Baking Area
- Preheat your oven to 350°F (175°C). This ensures the cake bakes evenly.
- Grease a 9×13-inch baking pan with butter or line it with parchment paper for easy removal.
2. Mix the Wet Ingredients
- In a large mixing bowl, whisk together the kefir, eggs, melted butter, vanilla extract, and sugar. Mix until smooth and creamy.
- Pro Tip: Use room-temperature ingredients for better incorporation and a fluffier texture.
3. Combine Dry Ingredients
- In a separate bowl, sift together the flour, baking soda, and salt. This helps to eliminate lumps and ensures a light batter.
- Gradually add the dry mixture to the wet ingredients, stirring gently with a spatula or hand mixer. Be careful not to overmix—stop as soon as there are no visible streaks of flour.
4. Bake the Cake
- Pour the batter evenly into the prepared baking pan, smoothing the top with a spatula.
- Place the pan in the preheated oven and bake for 30-35 minutes, or until a toothpick inserted in the center comes out clean.
- Pro Tip: Rotate the pan halfway through baking for even cooking.
5. Cool and Frost
- Once baked, let the cake cool in the pan for 10-15 minutes, then transfer it to a cooling rack.
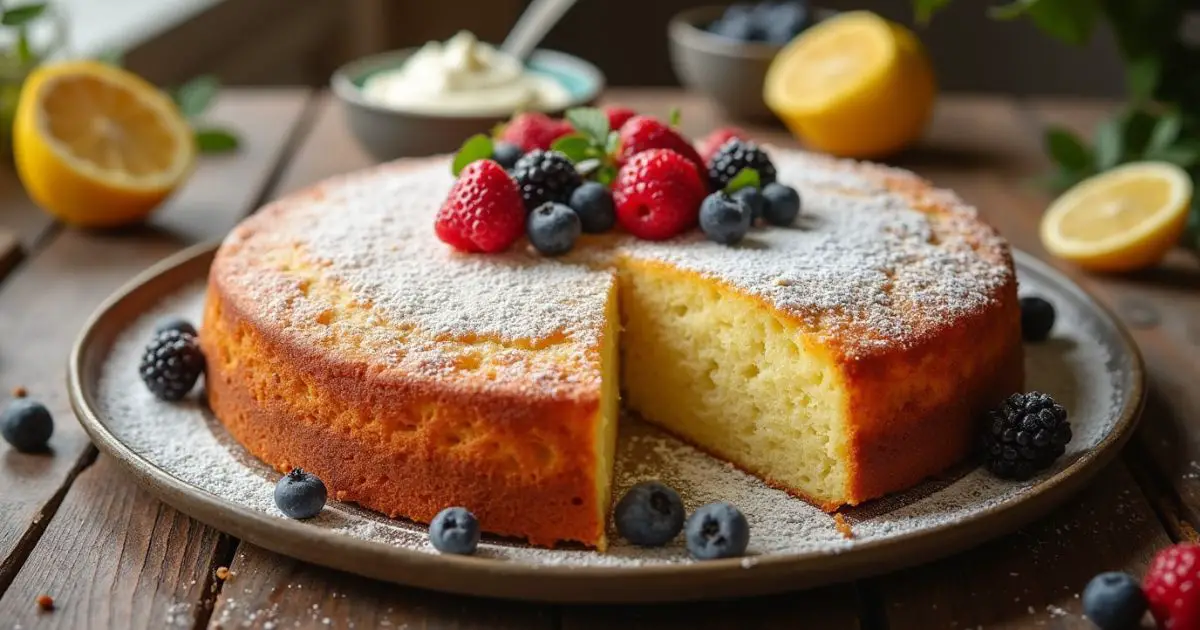
- Once fully cooled, top with your favorite frosting, a dusting of powdered sugar, or fresh fruit for a personal touch.
Helpful Insights
- Batter Consistency: The batter should be thick but pourable. If it feels too dense, add a tablespoon of kefir to loosen it.
- Frosting Pairing: Cream cheese frosting is a classic choice, but a light whipped topping works beautifully for a less sweet option.
Now, stand back and admire your homemade creation! With these simple steps, you’ll have a cake that’s as stunning as it is delicious.
Serving and Storage Tips
Your Kefir Sheet Cake is baked to perfection, and now it’s time to enjoy it! Here’s how to serve it in style and keep it fresh for later.
How to Serve
- For a Casual Treat: Slice the cake into squares or rectangles and serve it straight from the pan for a no-fuss dessert.
- For Special Occasions: Transfer the cake to a decorative serving plate and add elegant toppings like fresh fruit, chocolate shavings, or edible flowers.
- Pairings to Elevate the Flavor: Serve with a dollop of whipped cream, a scoop of vanilla ice cream, or a drizzle of caramel sauce for a luxurious touch.
How to Store
- Room Temperature: Cover the cake tightly with plastic wrap or foil and store it at room temperature for up to 3 days.
- Refrigeration: For longer storage, place the cake in an airtight container and refrigerate for up to 5 days. This method helps retain its moisture.
- Freezing: Want to save some for later? Wrap individual slices in plastic wrap, then place them in a freezer-safe bag or container. Freeze for up to 3 months. To enjoy, thaw slices at room temperature or warm them briefly in the microwave.
Tips for Best Results
- Prevent Dryness: Always cover the cake tightly to avoid it drying out, especially if refrigerated.
- Make Ahead: The cake tastes even better the next day as the flavors deepen. It’s an excellent make-ahead dessert for gatherings.
Whether you’re savoring it fresh or enjoying a prepped slice days later, this cake’s moist texture and tangy flavor will keep you coming back for more. It’s the perfect dessert to share—or keep all to yourself!
Helpful Notes
To ensure your Kefir Sheet Cake turns out perfect every time, here are some expert tips and answers to common challenges:
Ingredient Tips
- Kefir Substitution: If you don’t have kefir, you can use buttermilk or a mixture of milk and yogurt (in equal parts) for a similar tangy flavor.
- Room-Temperature Ingredients: Always use room-temperature eggs, butter, and kefir. This small step ensures the batter mixes evenly and creates a smoother texture.
Baking Tips
- Avoid Overmixing: When combining the wet and dry ingredients, stir just until the flour disappears. Overmixing can lead to a dense cake.
- Check Doneness Early: All ovens are different. Start checking your cake around the 30-minute mark by inserting a toothpick into the center. If it comes out clean, the cake is ready!
- Pan Prep Matters: Grease your pan thoroughly or use parchment paper to prevent sticking. This makes removing the cake a breeze.
Customization Ideas
- Add-ins for Extra Flavor: Fold in chocolate chips, chopped nuts, or shredded coconut for a fun twist.
- Frosting Options: While cream cheese frosting is a classic, try a tangy lemon glaze or a sprinkle of powdered sugar for lighter options.
- Seasonal Toppings: Top with fresh berries in summer or a dusting of cinnamon sugar in winter for a seasonal flair.
Troubleshooting Common Issues
- Cake Too Dense: This often happens when the batter is overmixed or the baking soda isn’t fresh. Always use fresh leavening agents.
- Dry Cake: Ensure you measure your ingredients accurately, especially flour. Scooping directly from the bag can pack in too much flour—use a spoon to fill the measuring cup and level it off with a knife.
By keeping these helpful notes in mind, you’ll avoid common pitfalls and have fun experimenting with variations. Baking is an adventure, and this Kefir Sheet Cake is the perfect recipe to inspire your creativity!
Conclusion
There you have it—the perfect Kefir Sheet Cake, ready to impress with its moist texture, tangy flavor, and effortless preparation. Whether you’re baking for a special celebration, a family dinner, or just to satisfy your sweet tooth, this recipe is a surefire crowd-pleaser.
The best part? It’s as versatile as it is delicious. From simple powdered sugar toppings to decadent frostings or seasonal fruit, you can easily tailor it to suit any occasion. Plus, it’s a fantastic way to use kefir in baking, adding a unique twist to a classic dessert.
So, what are you waiting for? Grab your mixing bowls, preheat that oven, and let your kitchen fill with the irresistible aroma of freshly baked cake. We promise—it’s worth every bite!
If you try this recipe, let us know how it turned out in the comments below. Don’t forget to share your creative variations—we’d love to hear your ideas! Happy baking!
_____________________________
kefir sheet cake
Ingredients
For the Cake:
- 1 cup of kefir adds tangy flavor and keeps the cake moist
- 2 large eggs room temperature for better mixing
- ½ cup of unsalted butter melted (adds richness to the cake)
- 1 cup of granulated sugar for just the right amount of sweetness
- 2 cups of all-purpose flour sifted for a light, fluffy texture
- 1 teaspoon of vanilla extract enhances flavor
- 1 teaspoon of baking soda ensures a perfect rise
- ½ teaspoon of salt balances the sweetness
Optional Toppings:
- Cream cheese or vanilla frosting for added sweetness
- Fresh berries a fruity twist
- Chocolate shavings or drizzle for the chocolate lovers
Ingredient Tips:
- Kefir Substitute: No kefir on hand? You can use buttermilk or plain yogurt instead though kefir’s unique tang is worth the effort!
- Gluten-Free Option: Swap all-purpose flour with a 1:1 gluten-free baking flour for a celiac-friendly version.
- Sugar Alternatives: Want a lower-sugar option? Try coconut sugar or a stevia blend for a healthier twist.
Instructions
Prep Your Baking Area:
- Preheat your oven to 350°F (175°C). This ensures the cake bakes evenly.
- Grease a 9×13-inch baking pan with butter or line it with parchment paper for easy removal.
Mix the Wet Ingredients:
- In a large mixing bowl, whisk together the kefir, eggs, melted butter, vanilla extract, and sugar. Mix until smooth and creamy.
- Pro Tip: Use room-temperature ingredients for better incorporation and a fluffier texture.
Combine Dry Ingredients:
- In a separate bowl, sift together the flour, baking soda, and salt. This helps to eliminate lumps and ensures a light batter.
- Gradually add the dry mixture to the wet ingredients, stirring gently with a spatula or hand mixer. Be careful not to overmix—stop as soon as there are no visible streaks of flour.
Bake the Cake:
- Pour the batter evenly into the prepared baking pan, smoothing the top with a spatula.
- Place the pan in the preheated oven and bake for 30-35 minutes, or until a toothpick inserted in the center comes out clean.
- Pro Tip: Rotate the pan halfway through baking for even cooking.
Cool and Frost:
- Once baked, let the cake cool in the pan for 10-15 minutes, then transfer it to a cooling rack.
- Once fully cooled, top with your favorite frosting, a dusting of powdered sugar, or fresh fruit for a personal touch.
Notes
Nutrition Information (Per Serving)
- Calories: 220
- Fat: 10g
- Saturated Fat: 6g
- Cholesterol: 50mg
- Sodium: 180mg
- Carbohydrates: 28g
- Sugar: 15g
- Fiber: 1g
- Protein: 4g
FAQs
1. Can I substitute kefir with something else?
Absolutely! If you don’t have kefir, you can use buttermilk or a mix of plain yogurt and milk in equal parts. These options will maintain the tangy flavor and moist texture.
2. How do I know when the cake is done?
Start checking at the 30-minute mark. Insert a toothpick into the center of the cake; if it comes out clean or with a few crumbs, it’s ready. Be careful not to overbake to keep the cake moist.
3. Can I make this recipe gluten-free?
Yes, simply swap the all-purpose flour with a 1:1 gluten-free baking flour. The texture may vary slightly, but it will still be delicious!
4. What’s the best way to store leftovers?
Store the cake in an airtight container at room temperature for up to 3 days, or refrigerate it for up to 5 days. You can also freeze individual slices for up to 3 months. Thaw and enjoy whenever you like!
5. Can I use this recipe for cupcakes?
Definitely! Pour the batter into cupcake liners, filling each about ¾ full. Bake at 350°F (175°C) for 18-22 minutes, checking doneness with a toothpick.
6. What frosting pairs best with this cake?
Cream cheese frosting is a classic choice, but you can also try vanilla buttercream, lemon glaze, or a simple dusting of powdered sugar for a lighter option.
7. Why does my cake feel dense?
This can happen if the batter is overmixed or the baking soda isn’t fresh. Make sure to mix the ingredients gently and check that your leavening agents are within their expiration dates.
8. Can I double this recipe?
Yes! For larger gatherings, simply double the ingredients and use a larger pan, like a 12×18-inch sheet pan. Adjust the baking time as needed, checking for doneness around the 35-40 minute mark.
With these answers, you’ll have all the tools you need to bake this Kefir Sheet Cake like a pro. Don’t hesitate to experiment and make it your own—happy baking!






Thank you for sharing this recipe
Thank you for sharing this recipe
Thank You